

Quest for Life
(2017)
Details
• Length: 5:24
• Year: 2017
• Production time: 3 months (10 days actual shooting, 2 days post-production)
• Produced for: 2017 Bricks in Motion Summer Contest, awarded 1st place
• Camera: Canon EOS 6D
• Lens: Nikkor 105mm f/2.8 (macro lens), Nikkor 24-85mm f/3.5-4.5G
• Programs: Dragonframe, Adobe Creative Suite 6

Behind the Scenes
Creating on-stage Special Effects (SFX)
The one thing that was clear for us from the beginning of this project was that we wanted to use as few visual effects (VFX) as possible. On the one hand, it decreases post-production time dramatically, which was very important for us considering the short amount of time we had to finish the entire post-production. On the other hand, SFX can give your film a very aesthetic touch, if done right.
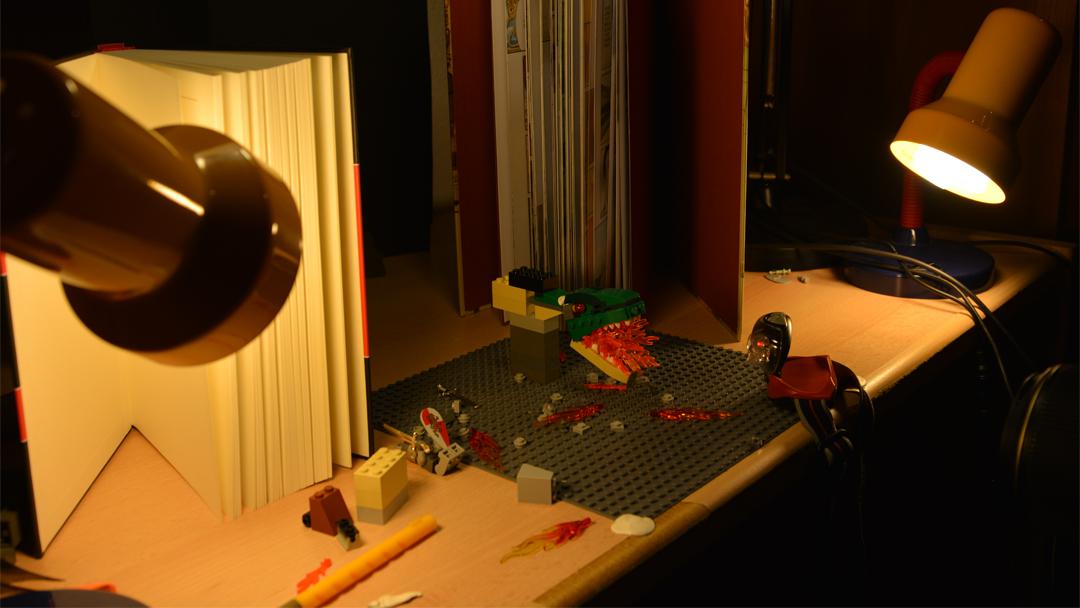
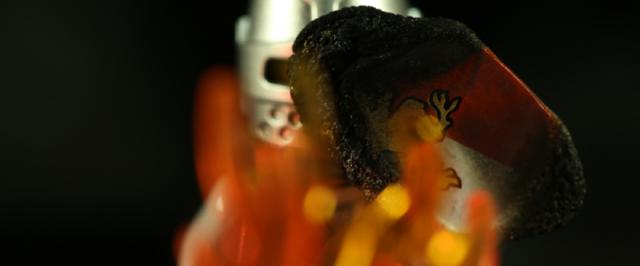
The easiest Lego SFX to create is a small to medium-sized explosion: Since it lasts only a few frames, you don’t have to animate the flames meticulously. Start off with a few flames/red bricks deployed in the centre of the explosion (modelling clay or patafix gluepads can help them stick together). But hold on before taking a picture: The key to good SFX lies within the lighting! Move the spot lights a bit around to softly illuminate the centre (ideally also with a coloured light); then you can take the picture and, during the next steps/images you gradually expand the explosion area (again: adjust the lighting for each picture). Once you have animated about 5 frames or so you only have to marvel about the results on your screen.
Set Extension II
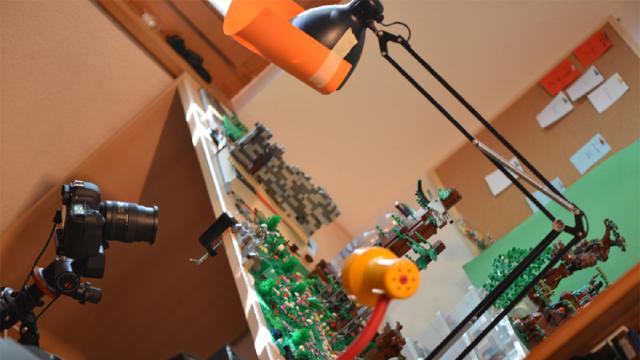
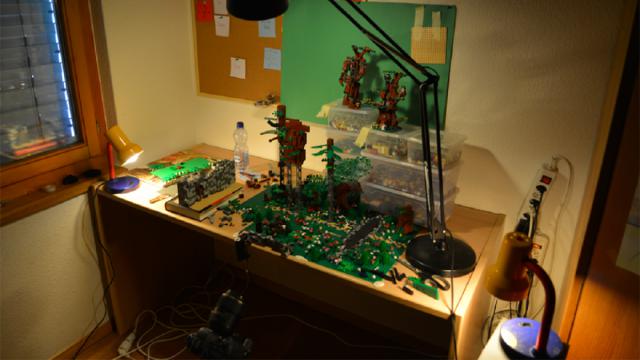
We already talked about this a bit in the “Touché!” making-of but want to discuss an example on a slightly bigger scale here: In the opening wide shot you see our brave knight walking towards the dangerous crevice. Since we did not want to lift the whole set about 10 cm / 4 inches in order to put the Lego crevice in place, we had to come up with another solution. We thus decided to mask the crevice’s spot in the wide shot and replace that part later with an image of said crevice.
A few words of advice if you want to do this: You need to be extremely careful with positioning and lightning: We recommend to use Dragonframe’s “onion skin” before capture to move the object (in our case: crevice) exactly where it belongs. In addition, make sure a) to cover the masking spot with a piece of dark paper to avoid peculiar reflections and b) to use some feathering to reduce hard edges when masking. Finally, adjust brightness/image colour until the masked object really fits the scene.
Trivia
• Due to a very busy personal life we had to shoot the whole film in six weekends and pray that one weekend was enough for editing. However, we badly wanted to get back into the game after publishing our 3-year project “The Deal”.
• In the scene where the knight bends over the crevice, we needed huuuuuuuuuuuuuge quantities of brown Legos to create the impression of a thick forest behind him. Since the background is super blurry we ended up using two large pieces from hobbit sets (an ent and a tree with dwarves on it) - Did you spot them? ;p
• But you had a much fairer chance to spot the ent a second time: In the opening shot you can see one of his legs in the background.
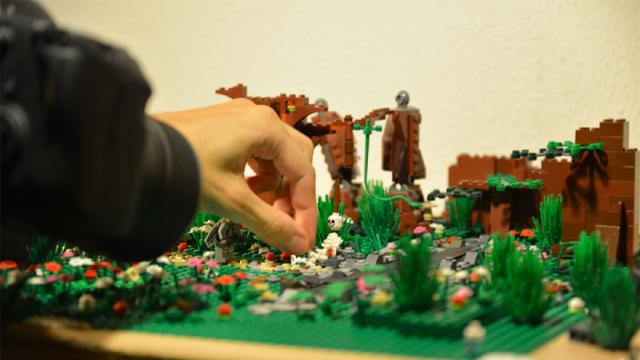
• It took us a whole weekend to build the large forest set, which is entirely visible only in the opening shot.
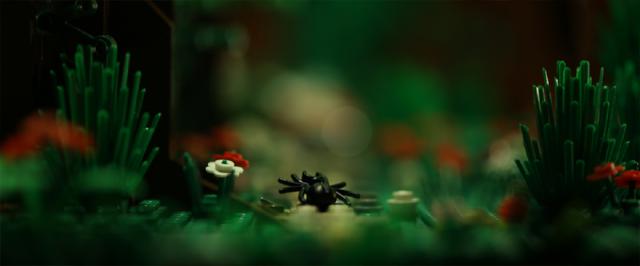
• The spiders moving around nervously were a spontaneous, on-the-fly idea. We had everything set up to start shooting the walking knight, when one of us wondered: “What if we had an animal moving around nervously before the knight appears?” We immediately fell in love with this proposition.
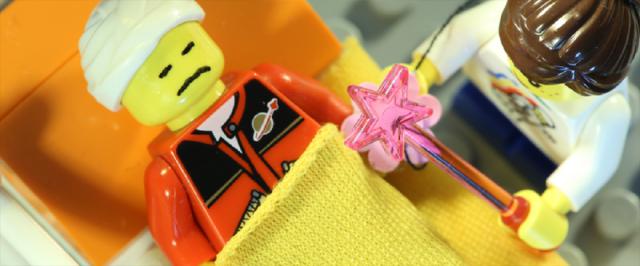
• Initially, we planned a window seat for our injured protagonist and built a nice and luminous window with paper blinds. Unfortunately, this didn’t work with the other set pieces and we had to move our fancy window to the border.
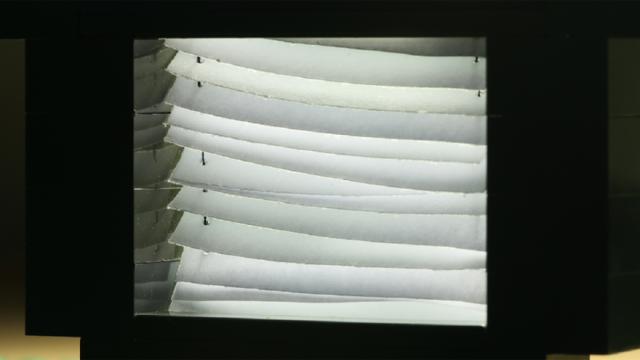
• Speaking of paper blinds: All non-Lego elements are visible in the opening shot in the hospital: The paper blinds, a paper curtain and the protagonist’s blanket.
• In the cave scenes we used about as much light as for the other scenes but set the shutter speed to 1/30-1/60 instead of the usual ½-1s. To make the fire glow and the thunder crash we took two pocket lamps directly pointed at the target.
• Shame on us – we forgot to display our very popular soft drink brand “Brick Drink”!
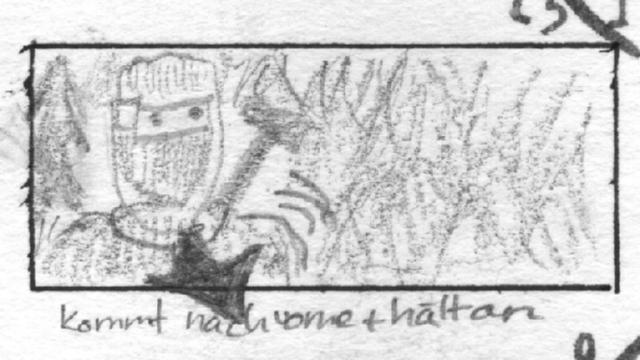
• When drawing the storyboard, we planned about ten more shots, which we had to drop continuously due to time running out. For example, we wanted to begin the film above the tree tops, slowly panning down…
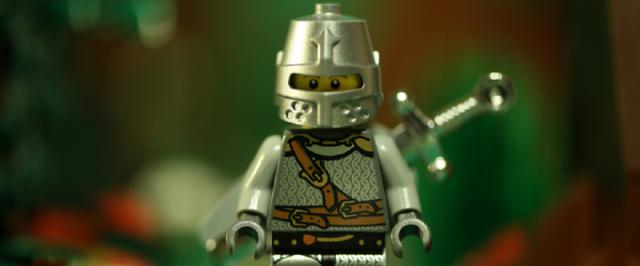
• For all the ferocious defenders of the rights of plastic toys: The count of maltreated pieces in this film is exactly 10 (a whole skeleton with a ruby in his hands [7] + the knight’s armour [3]). Our favourite is the burnt shield (only briefly visible) which showed us that Lego pieces burn surprisingly well.
• Length: 5:24
• Year: 2017
• Production time: 3 months (10 days actual shooting, 2 days post-production)
• Produced for: 2017 Bricks in Motion Summer Contest, awarded 1st place
• Camera: Canon EOS 6D
• Lens: Nikkor 105mm f/2.8 (macro lens), Nikkor 24-85mm f/3.5-4.5G
• Programs: Dragonframe, Adobe Creative Suite 6
;)
;)
;)
Behind the Scenes
Creating on-stage Special Effects (SFX)
The one thing that was clear for us from the beginning of this project was that we wanted to use as few visual effects (VFX) as possible. On the one hand, it decreases post-production time dramatically, which was very important for us considering the short amount of time we had to finish the entire post-production. On the other hand, SFX can give your film a very aesthetic touch, if done right.
The easiest Lego SFX to create is a small to medium-sized explosion: Since it lasts only a few frames, you don’t have to animate the flames meticulously. Start off with a few flames/red bricks deployed in the centre of the explosion (modelling clay or patafix gluepads can help them stick together). But hold on before taking a picture: The key to good SFX lies within the lighting! Move the spot lights a bit around to softly illuminate the centre (ideally also with a coloured light); then you can take the picture and, during the next steps/images you gradually expand the explosion area (again: adjust the lighting for each picture). Once you have animated about 5 frames or so you only have to marvel about the results on your screen.
;)
Set Extension II
We already talked about this a bit in the “Touché!” making-of but want to discuss an example on a slightly bigger scale here: In the opening wide shot you see our brave knight walking towards the dangerous crevice. Since we did not want to lift the whole set about 10 cm / 4 inches in order to put the Lego crevice in place, we had to come up with another solution. We thus decided to mask the crevice’s spot in the wide shot and replace that part later with an image of said crevice.
A few words of advice if you want to do this: You need to be extremely careful with positioning and lightning: We recommend to use Dragonframe’s “onion skin” before capture to move the object (in our case: crevice) exactly where it belongs. In addition, make sure a) to cover the masking spot with a piece of dark paper to avoid peculiar reflections and b) to use some feathering to reduce hard edges when masking. Finally, adjust brightness/image colour until the masked object really fits the scene.
Trivia
• Due to a very busy personal life we had to shoot the whole film in six weekends and pray that one weekend was enough for editing. However, we badly wanted to get back into the game after publishing our 3-year project “The Deal”.
• In the scene where the knight bends over the crevice, we needed huuuuuuuuuuuuuge quantities of brown Legos to create the impression of a thick forest behind him. Since the background is super blurry we ended up using two large pieces from hobbit sets (an ent and a tree with dwarves on it) - Did you spot them? ;p
• But you had a much fairer chance to spot the ent a second time: In the opening shot you can see one of his legs in the background.
• It took us a whole weekend to build the large forest set, which is entirely visible only in the opening shot.
• The spiders moving around nervously were a spontaneous, on-the-fly idea. We had everything set up to start shooting the walking knight, when one of us wondered: “What if we had an animal moving around nervously before the knight appears?” We immediately fell in love with this proposition.
• Initially, we planned a window seat for our injured protagonist and built a nice and luminous window with paper blinds. Unfortunately, this didn’t work with the other set pieces and we had to move our fancy window to the border.
;)
;)
;)
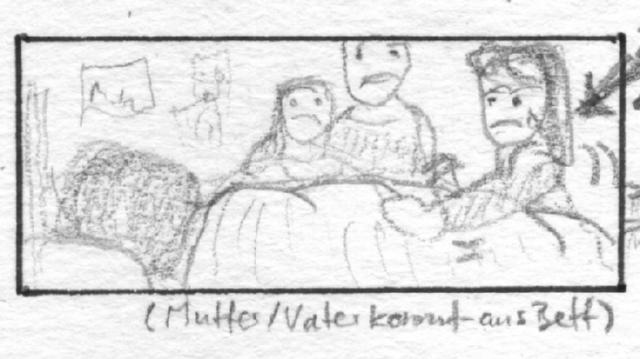
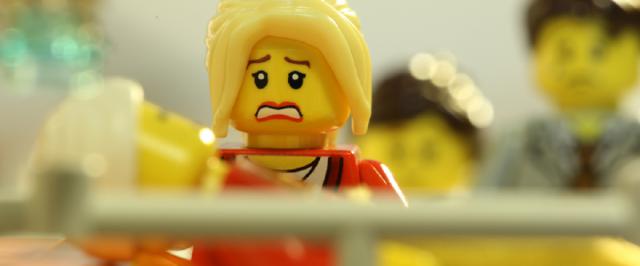
• Speaking of paper blinds: All non-Lego elements are visible in the opening shot in the hospital: The paper blinds, a paper curtain and the protagonist’s blanket.
• In the cave scenes we used about as much light as for the other scenes but set the shutter speed to 1/30-1/60 instead of the usual ½-1s. To make the fire glow and the thunder crash we took two pocket lamps directly pointed at the target.
• Shame on us – we forgot to display our very popular soft drink brand “Brick Drink”!
• When drawing the storyboard, we planned about ten more shots, which we had to drop continuously due to time running out. For example, we wanted to begin the film above the tree tops, slowly panning down…
• For all the ferocious defenders of the rights of plastic toys: The count of maltreated pieces in this film is exactly 10 (a whole skeleton with a ruby in his hands [7] + the knight’s armour [3]). Our favourite is the burnt shield (only briefly visible) which showed us that Lego pieces burn surprisingly well.
;)
;)
;)
;)
;)
;)
Copyright © silentframes.com
All rights reserved. Impressum 2007 - 2023
This website does neither collect data nor use cookies.
All rights reserved. Impressum 2007 - 2023
This website does neither collect data nor use cookies.