Excalibur - The Untold Story
(2010)
Details
• Length: 1:31
• Year: 2010
• Production time: 2 months
• Camera: Panasonic Camcorder HDC-TM20
• Programs: Magix Video Deluxe 15 Plus, Squirlz Water Reflections
• Length: 1:31
• Year: 2010
• Production time: 2 months
• Camera: Panasonic Camcorder HDC-TM20
• Programs: Magix Video Deluxe 15 Plus, Squirlz Water Reflections
Behind the Scenes
The Art of Water
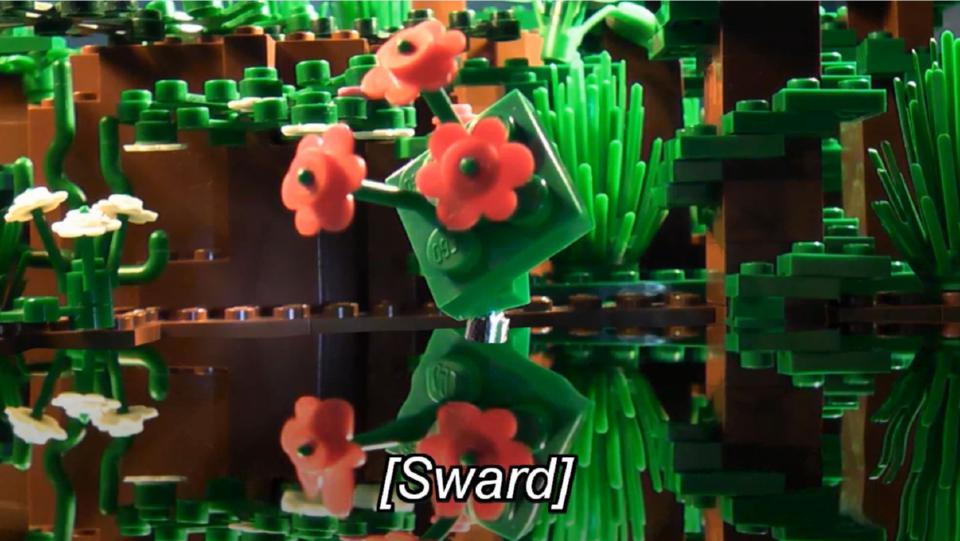
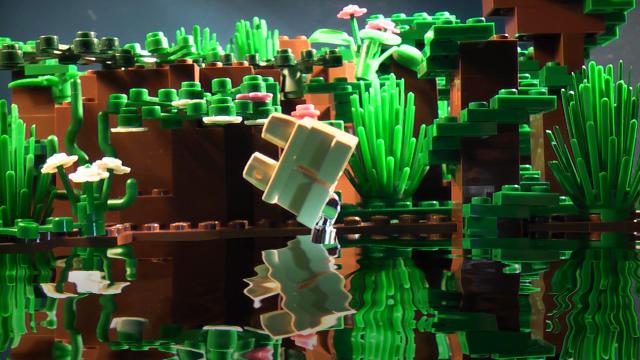
The most sophisticated visual effect we have done up to this point was green screening, but for this short film we needed some kind of water animation. We debated whether we wanted to do it with actual bricks or with CGI. Although there are some very good examples in the brickfilm community for water animated in stop motion with actual bricks, we decided that it was too difficult for the kind of shot we were looking at. The freeware program we finally used is called Squirlz Water Reflections, which is very intuitive and easy to handle. It creates a reflection of the upper image part, which can be adjusted and animated with various parameters, thus creating the impression of a water surface. We did nothing too complicated for this sequence, but you could also animate rain falling down on the water surface with Squirlz.
Basic Image Composition and Set Design
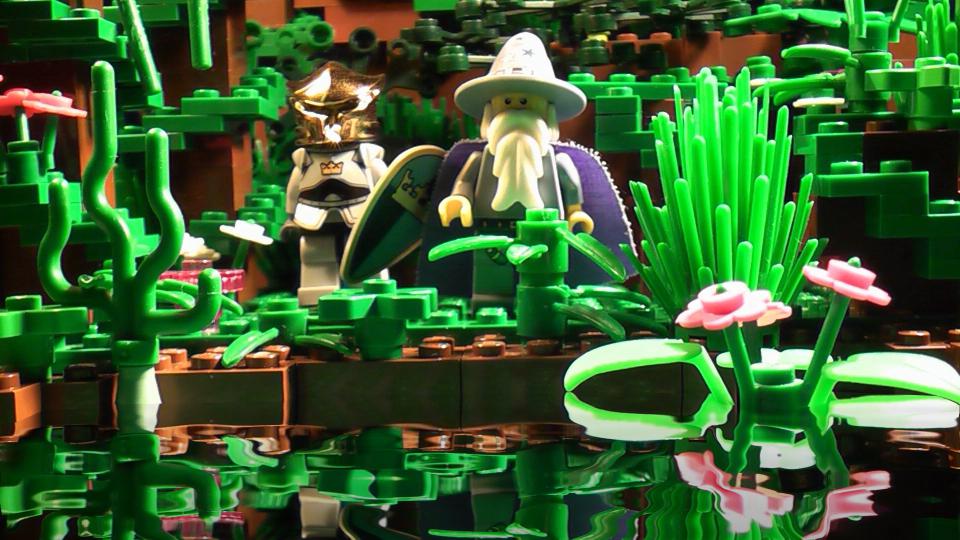
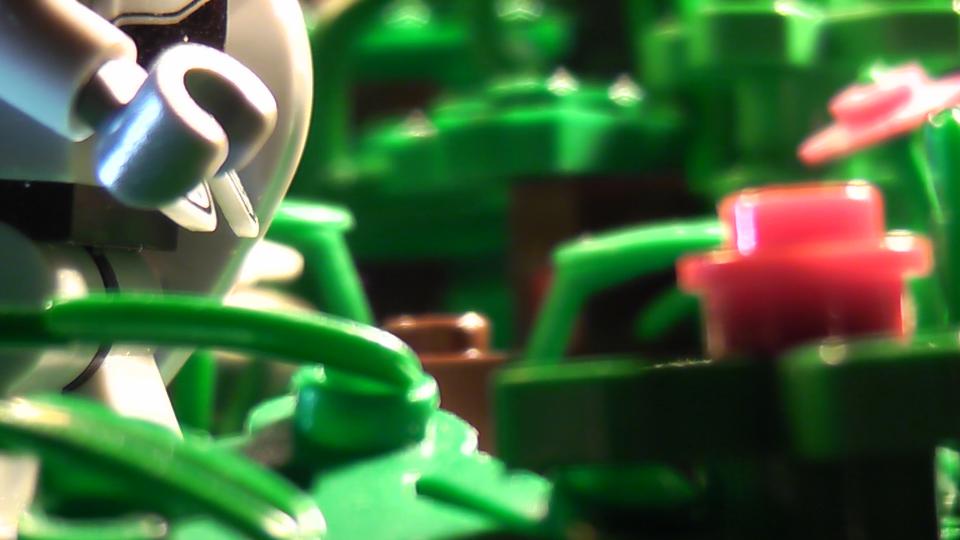
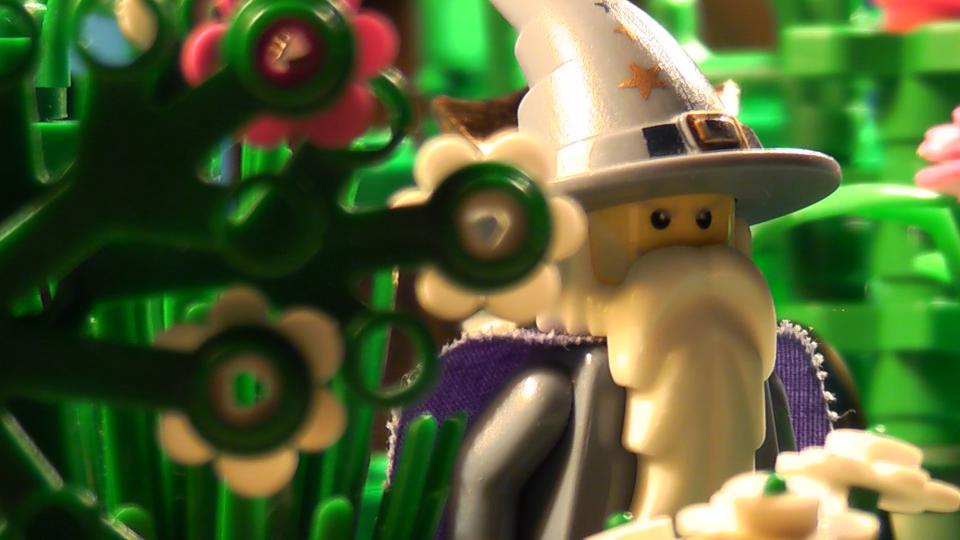
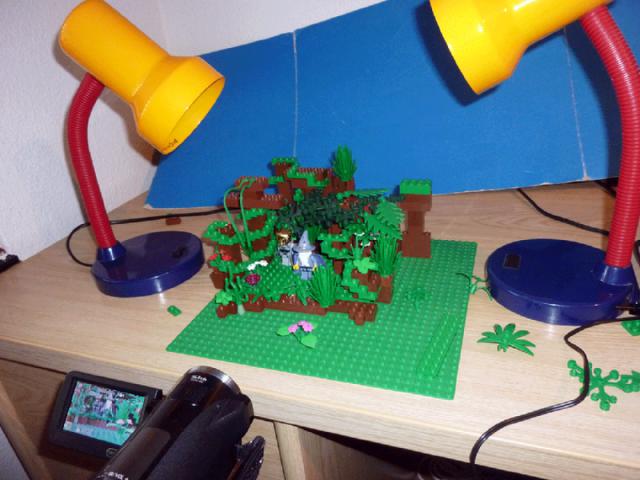
Scene one and two are very good examples to talk about image composition and how to give the impression of depth, without using many bricks. We wanted to create a lush and impenetrable-looking forest. The trick to accomplish such a look is to work with different “layers” on set: First there is the foreground, the layer that is nearest to the camera. Here you can put small objects like flowers or single grass leafs. Next follows the animation layer, where our heroes walk across. Although these seem to be very close to each other from the camera’s perspective you can actually leave a lot of space between them, at least enough to easily animate the minifigures. Lastly, there is the background with the remainder of the vegetation. By focussing on the middle layer you automatically “blur” the other ones (the extent depends on the camera and settings you are using), thus creating depth-of-field, similar to our usual human vision, which can only focus on one object at a time. Since the background is blurred it doesn’t matter too much what exactly you put there, as long as the pieces have the right colour and, for example, the rough shape of a tree is recognizable.
When you prepare such a shot, start off with the most important layer, the one where the animation will take place. When camera and focus are set you can start adding things to the foreground. Play with the distance to the camera, depending on what looks good and bear in mind that you will have to animate without touching neither fore- nor background. Only the background areas which are indeed filmed need to be built up; so don’t build a two meter (six feet) super-jungle when in the end you don’t even need a quarter of it.
Of course this is only a rough plan for such a shot, but the basic idea stays the same: Build a three-dimensional set with fore- and background, put objects in various distances from the camera in order to create a very appealing depth-of-field effect.
Trivia
• We finally got a new, high definition camcorder and upgraded our Magix program, too. The unfortunate side-effect of these technical “improvements” is that, although we filmed in 16:9, the final export for BrickCinema actually had the wrong format with the width being squeezed. Fortunately, we were able to adjust it when uploading the movie to Vimeo and Youtube.
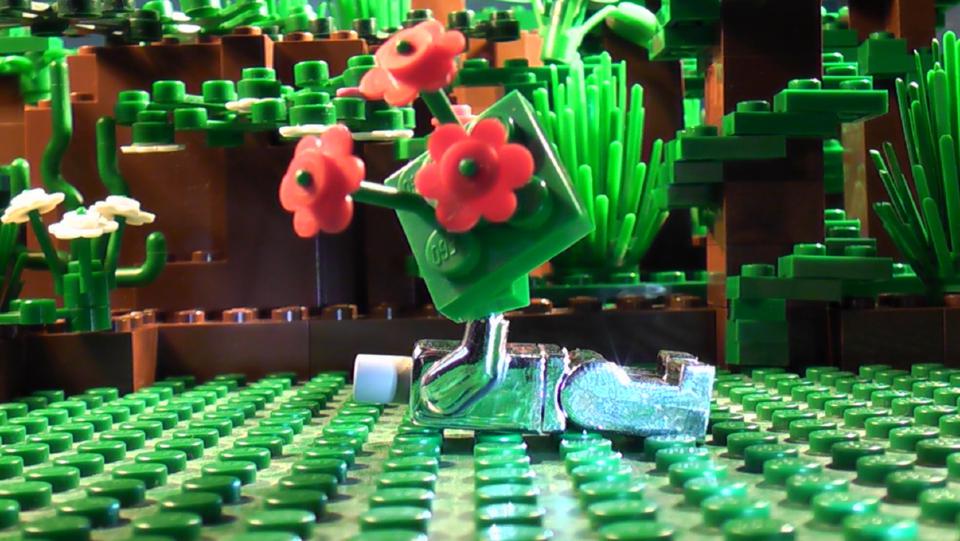
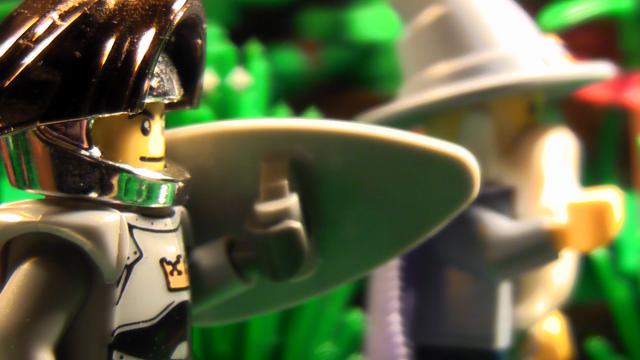
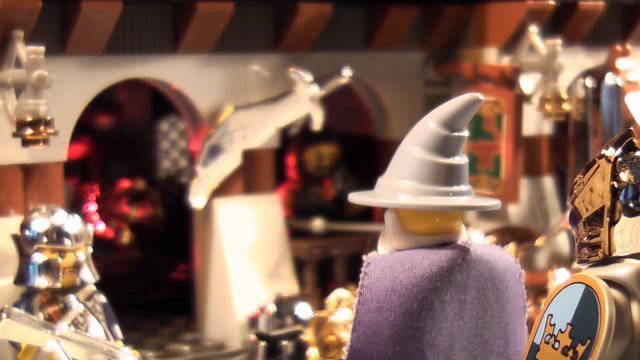
• In the final shot especially you can see many chromed weapons in different colours, the helmet of Arthur is chromed as well as the hand in the lake. We got these from the, at that time fairly new, online shop Chromebricks, which sponsored a prize in the BrickCinema Christmas Contest. Although we didn’t win those bricks we decided to get some and made nice usage in this film.
• This film represents the exception to our unwritten rule, to produce brickfilms without spoken language.
Copyright © silentframes.com
All rights reserved. Impressum 2007 - 2023
This website does neither collect data nor use cookies.
All rights reserved. Impressum 2007 - 2023
This website does neither collect data nor use cookies.

